

Tips from the field: Automated tagging of Azure resources
Microsoft Azure provides practically limitless cloud services that can help organisations meet their business challenges. It gives everyone the freedom to build, manage and deploy applications, but in turn, this can lead to costs quickly getting out of control. Nevertheless, there are various approaches that can be taken to better manage and optimize your overall Azure costs and we touched briefly on some of those in a previous blog where our Lead Tech Evangelist, Adam Kinniburgh, shared 10 tips on managing Azure costs.
In this blog, we’re going to focus on a good governance practice, namely keeping a reliable record of who created a resource and when, and all nicely automated too. Following the tips in Adam's blog to make sure you’ve provisioned the right resources in the right locations is a great starting point, but adding accountability is also needed. The inevitable “audit” leads to questions about whether things are still valid, and in that case, you need to know who to ask.
SquaredUp’s cost problem
The issue we were facing at SquaredUp was that our overall Azure cost was starting to grow, and it wasn’t really clear why. For the full story check out 6 steps we took to regain control of our Azure costs at SquaredUp.
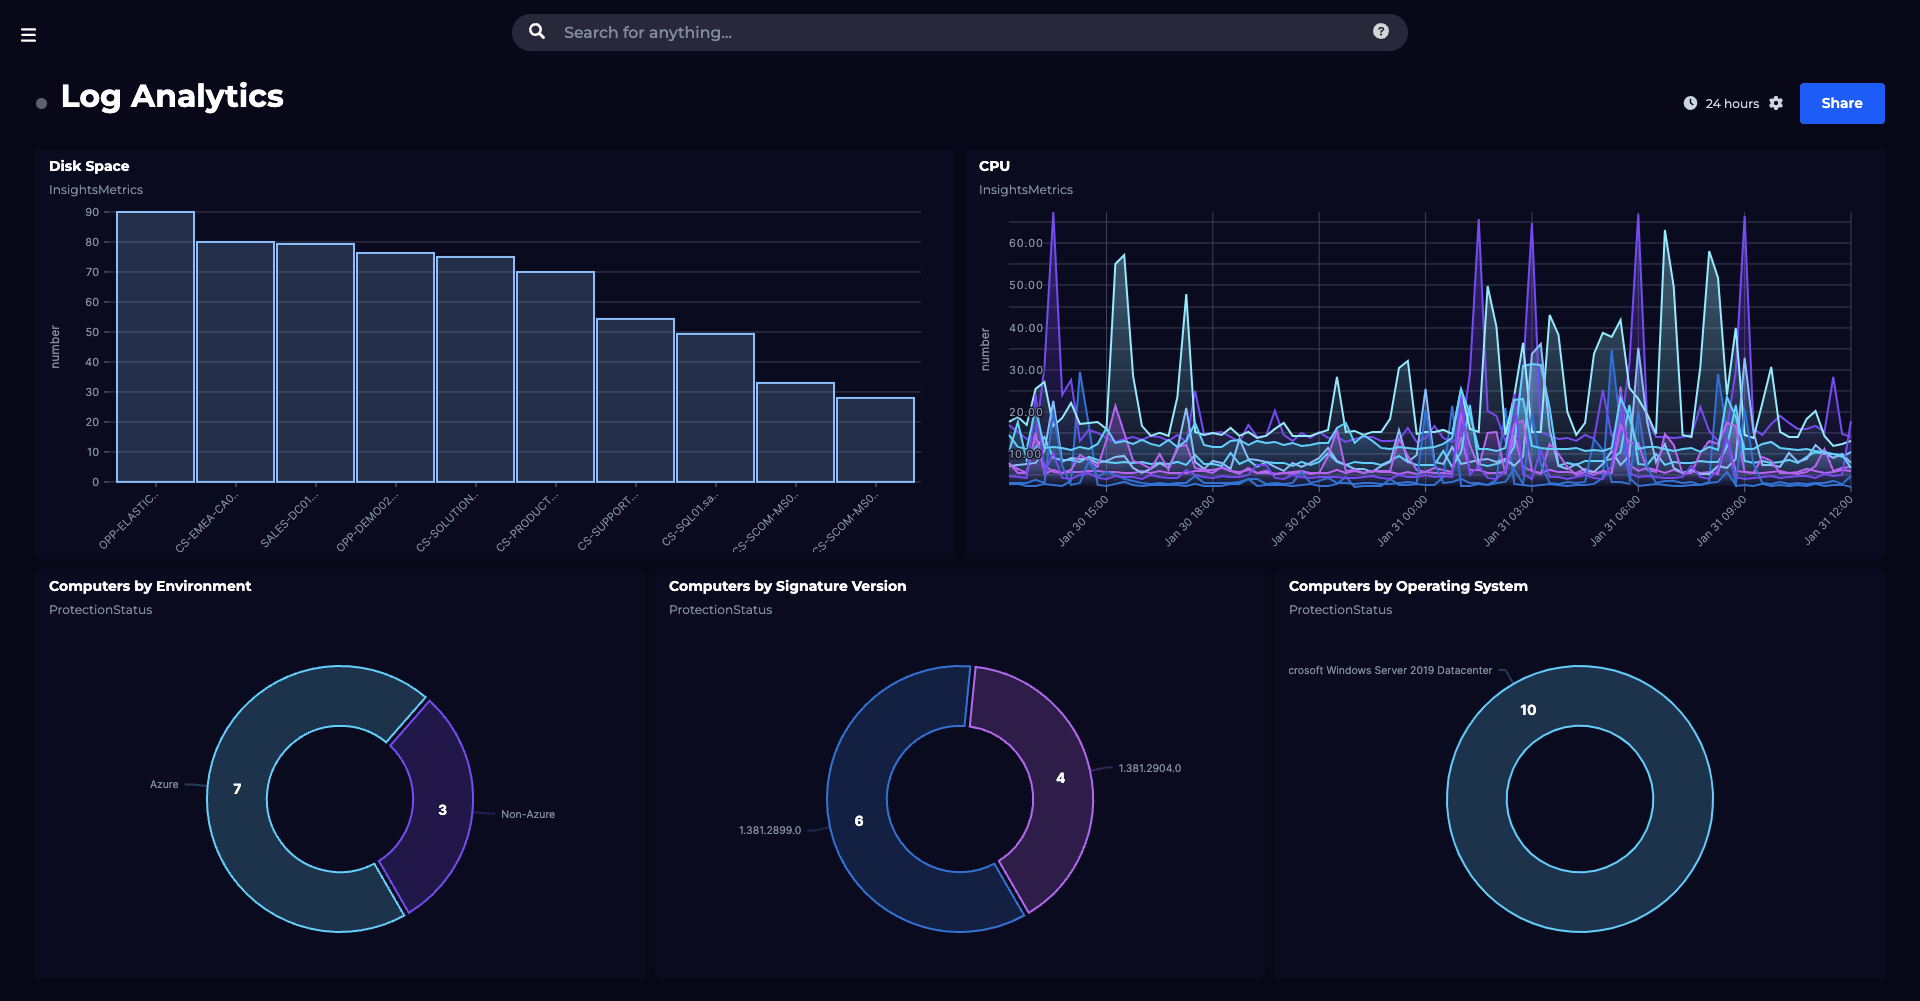
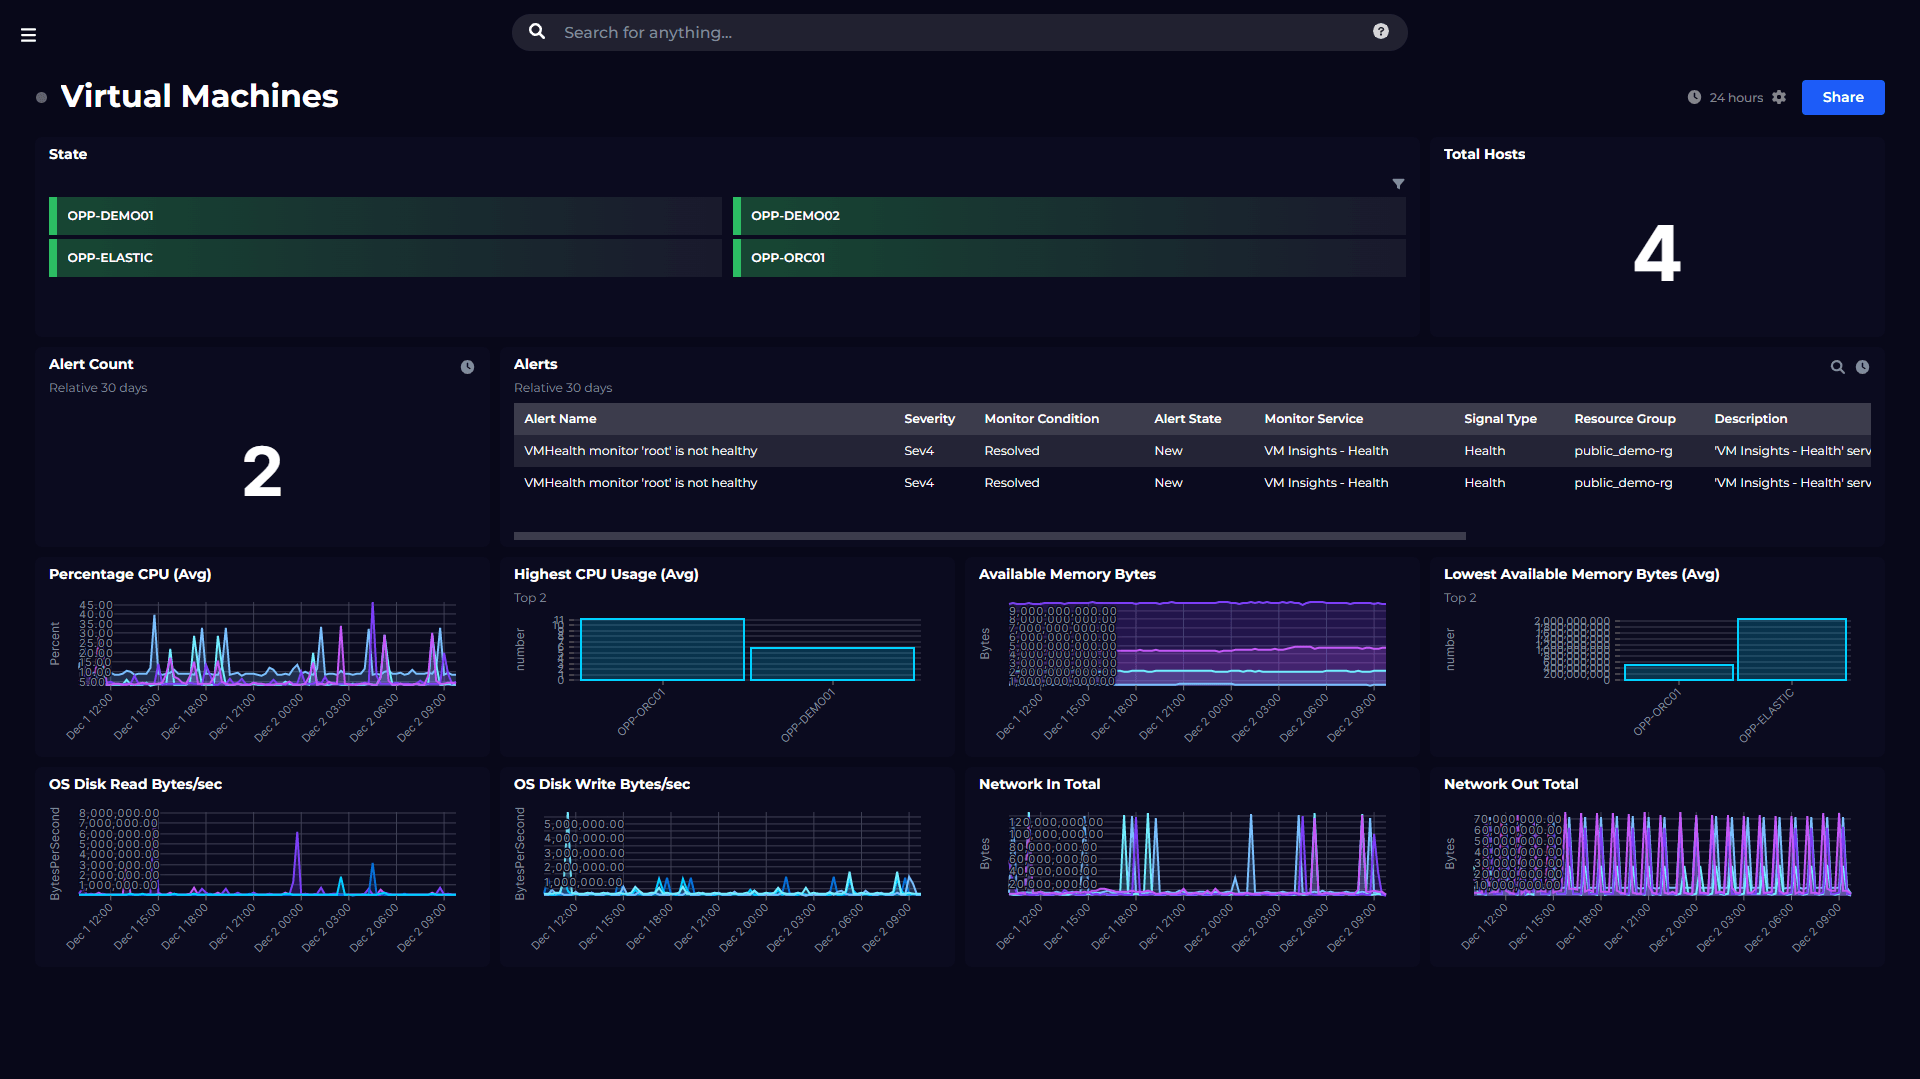
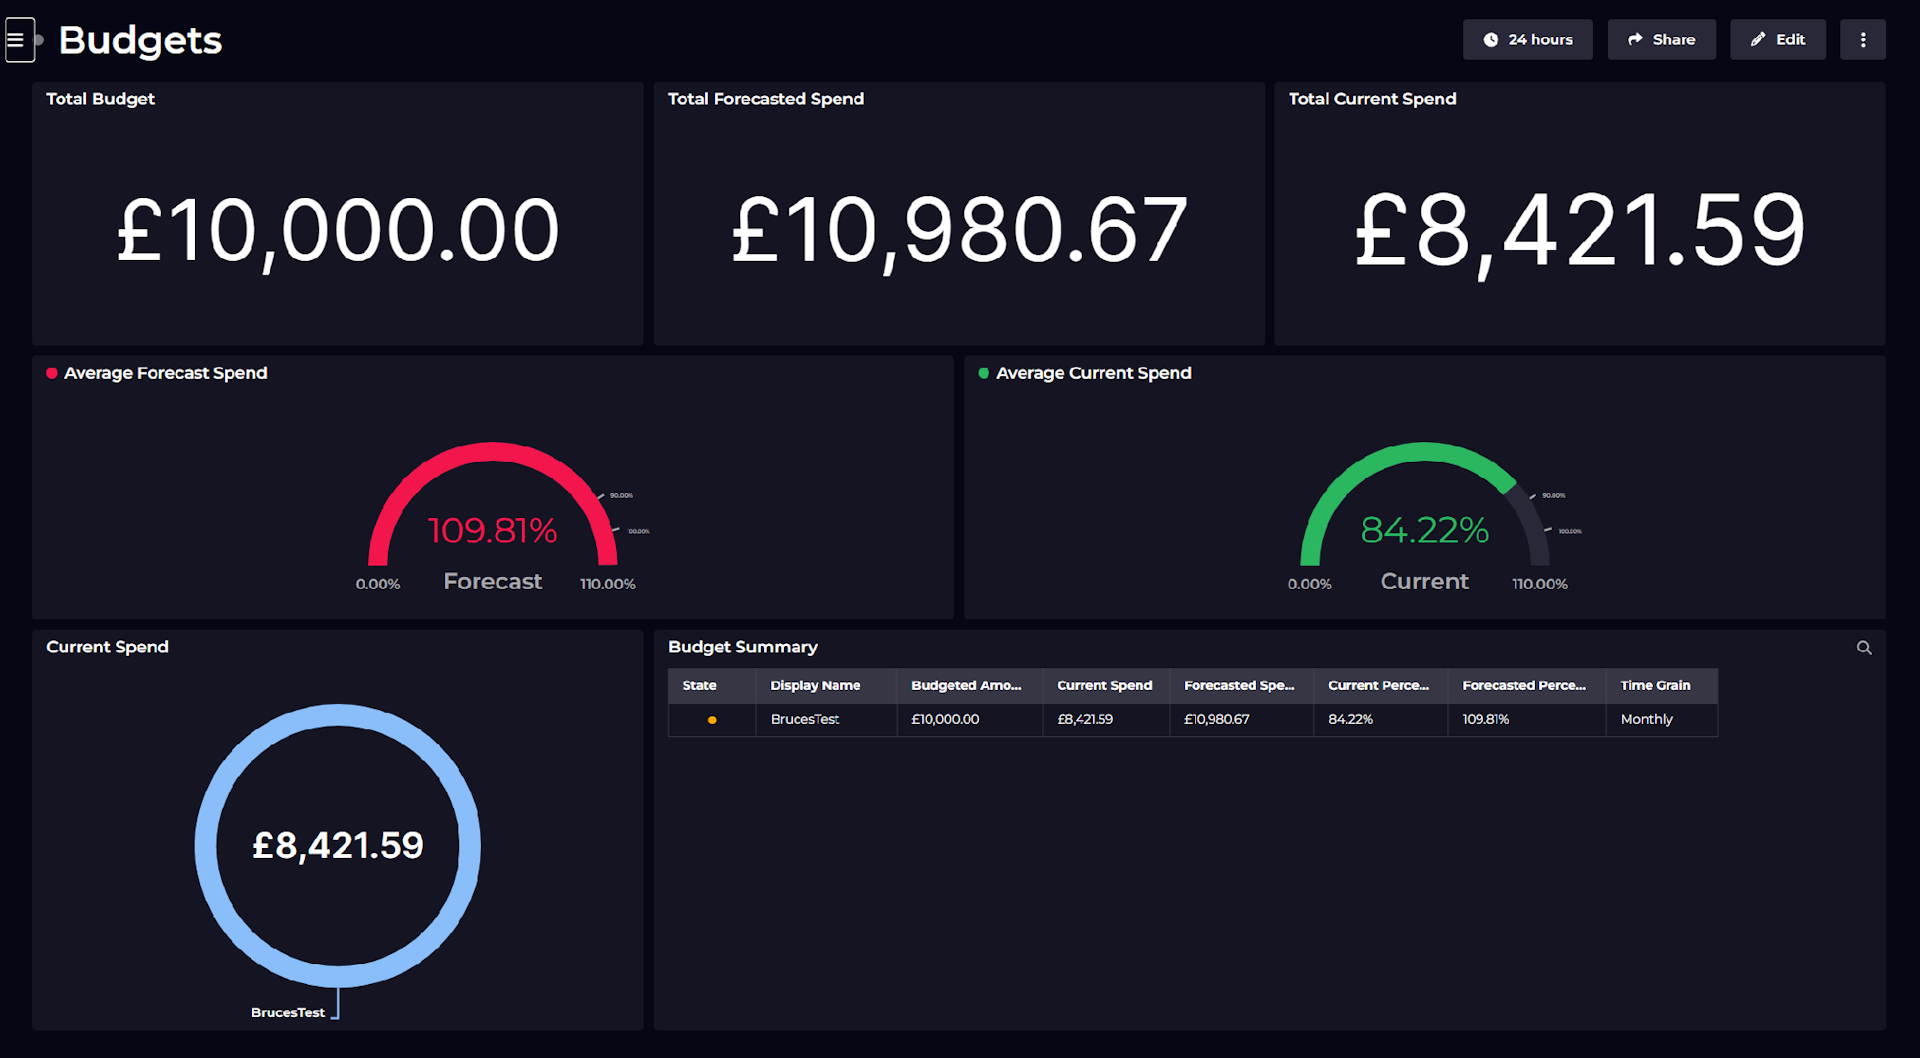
In short, we were able to use SquaredUp for Azure to create some great dashboards showing cost by resource type, resource group, or subscription, so we were able to make a good start at understanding where the money was going, but we couldn’t answer the more important question of “why”. To do this, we needed to better understand what the resources were doing and whether they were still being used, and to do that we needed to know who created them.
When I first started analysing our environment it was hard to find who created something, and when. Some resources had Tags and we were able to identify owners that way, but there were so many that did not. We were able to go through Azure Activity Log and get more information, however, with Activity Logs limited to 90 days of history, any older resources were still a mystery. This was a recurring theme across all our Azure tenants, of which we have a few for different purposes i.e. production, research and development, and automated testing.
A key part of the solution: Logic App
We decided that we needed to eliminate this problem for the future so threw some ideas around, all of which would make it easy to identify the creator and creation date of all our key resources. Using Tags was the best option, and here at SquaredUp we love automation, so we decided to combine the two and ensure it was reliable. The proposal was to design a Logic App that could monitor Azure Activity Log and from that, get the name of the creator and the creation date for any new resource deployment. It would then add a set of Tags to the newly created resource. After working with our Internal Apps team, we designed the following.
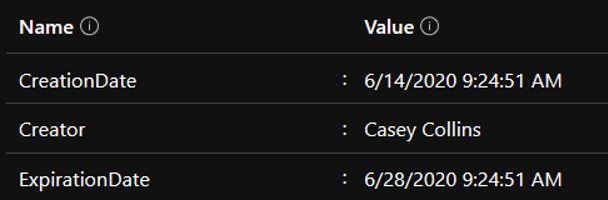
Creator and creation date
Our Logic App monitors Activity Log for Event Type “Microsoft.Resources.ResourceWriteSuccess”
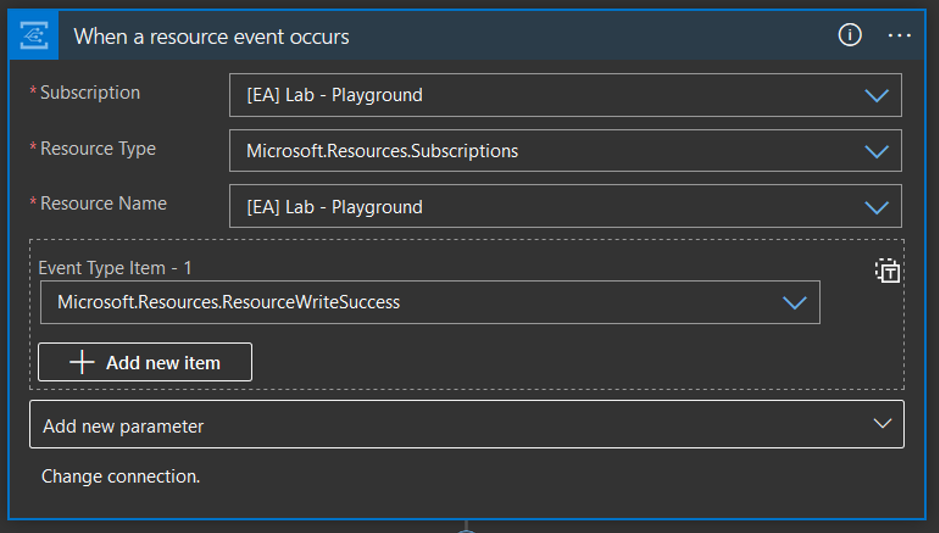
The app has a conditional step where it will only monitor for certain resource types. For us, these were the most commonly created types, and the most costly. A full list of resources can be looked up from Microsoft Azure’s Resource Explorer.
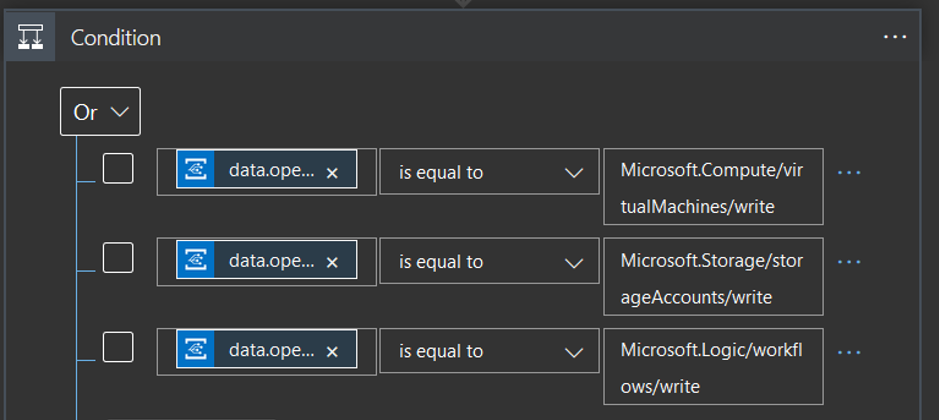
Whenever a matching Activity Log event is detected, the Logic App will POST to an Azure Automation Account which has a PowerShell Runbook associated with it. This Runbook adds the relevant Tags using the data retrieved from the Activity Log.

Expiration date for resources
We also decided to add an expiration date for resources. This helps us to monitor and carry out regular clean-ups in those environments where resources are created for research or testing and don’t need to be long-lived. The end-user can of course extend this where they need to, but it eliminates the risk of zombie resources being forgotten about.
The end result looks like this…
Automated resource clean-up / notifications
Taking this a step further, we can use the ExpirationDate to automate clean-up of resources on a regular schedule. We can even use the Creator’s name to automate notifications via Slack so that things aren’t removed unexpectedly. As long as you have a few useful Tags, you can achieve some pretty cool things.
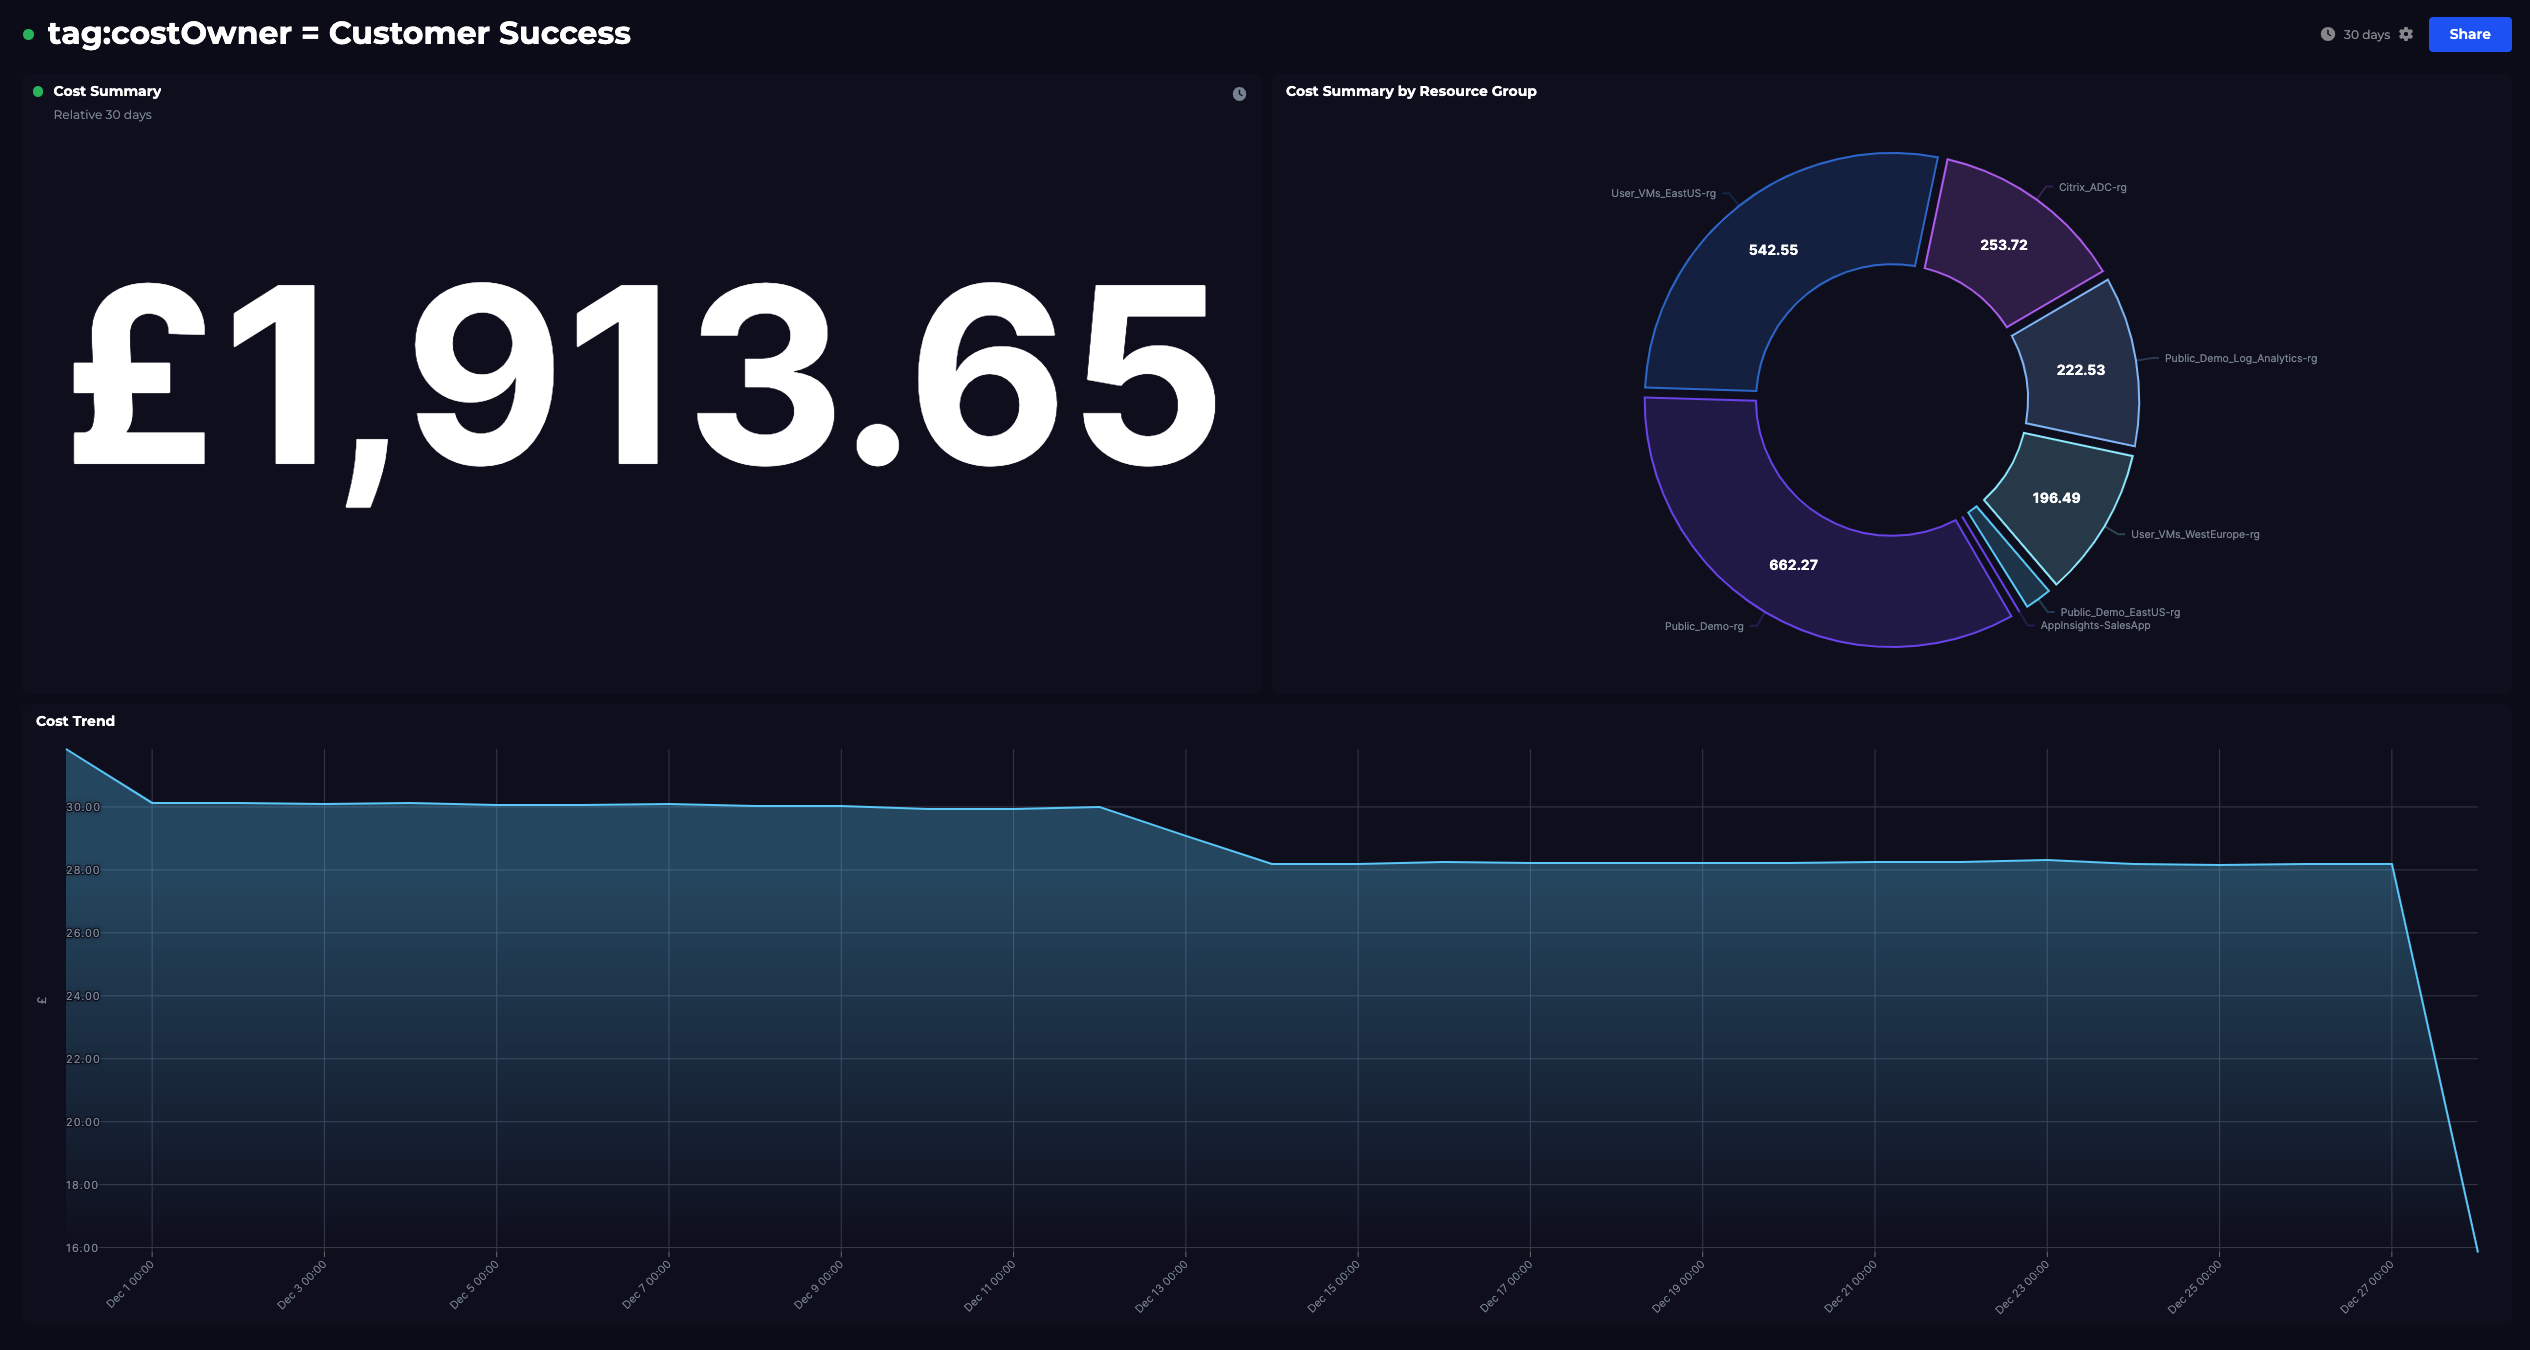
Cost dashboards for each team
Just to round this post off, I mentioned before that we were using SquaredUp for Azure to create cost dashboards but couldn’t go beyond the typical logic units of resource groups or subscriptions. Now that we have these Tags in place, and Tags can be used to scope any of our dashboard tiles, we can now create dashboards per user or team. In the past, teams were otherwise pretty unaware of the cost of their work in Azure but we can now give them a dashboard that helps them to keep their costs in check.
Thanks for reading, and I hope the simple steps I’ve covered come in handy in your environment too. If you'd like to learn more about how we kept our Azure costs in control, check out the following:
6 steps we took to regain control of our Azure costs at SquaredUp
Tips from the field: Managing costs in Azure
Azure dashboards for cost management
Related plugins
Azure
Monitor your Azure environment, including VM, Functions, Cost and more.
SquaredUp has 60+ pre-built plugins for instant access to data.
Related solutions
Related content
Dashboard Story
Visualize aggregated Azure Log Analytics logs and traces
Dashboard Story
Visualizing key Azure infrastructure metrics


Dashboard Story
Visualize and monitor your Azure costs
Dashboard Story